Grill Wordpress Integration
This section covers the step by step process to integrate Grill with any Wordpress site in a few minutes.
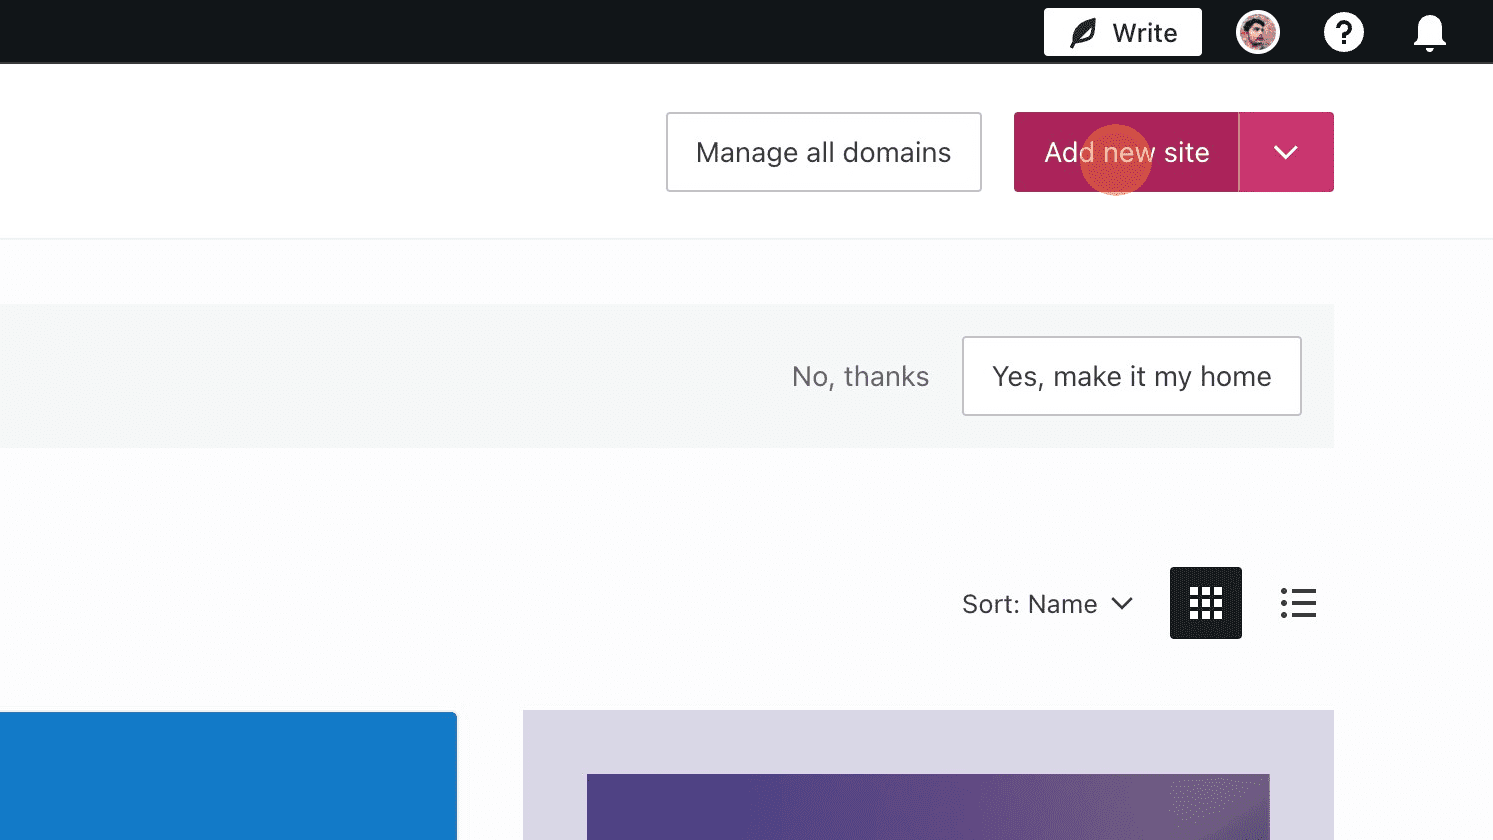
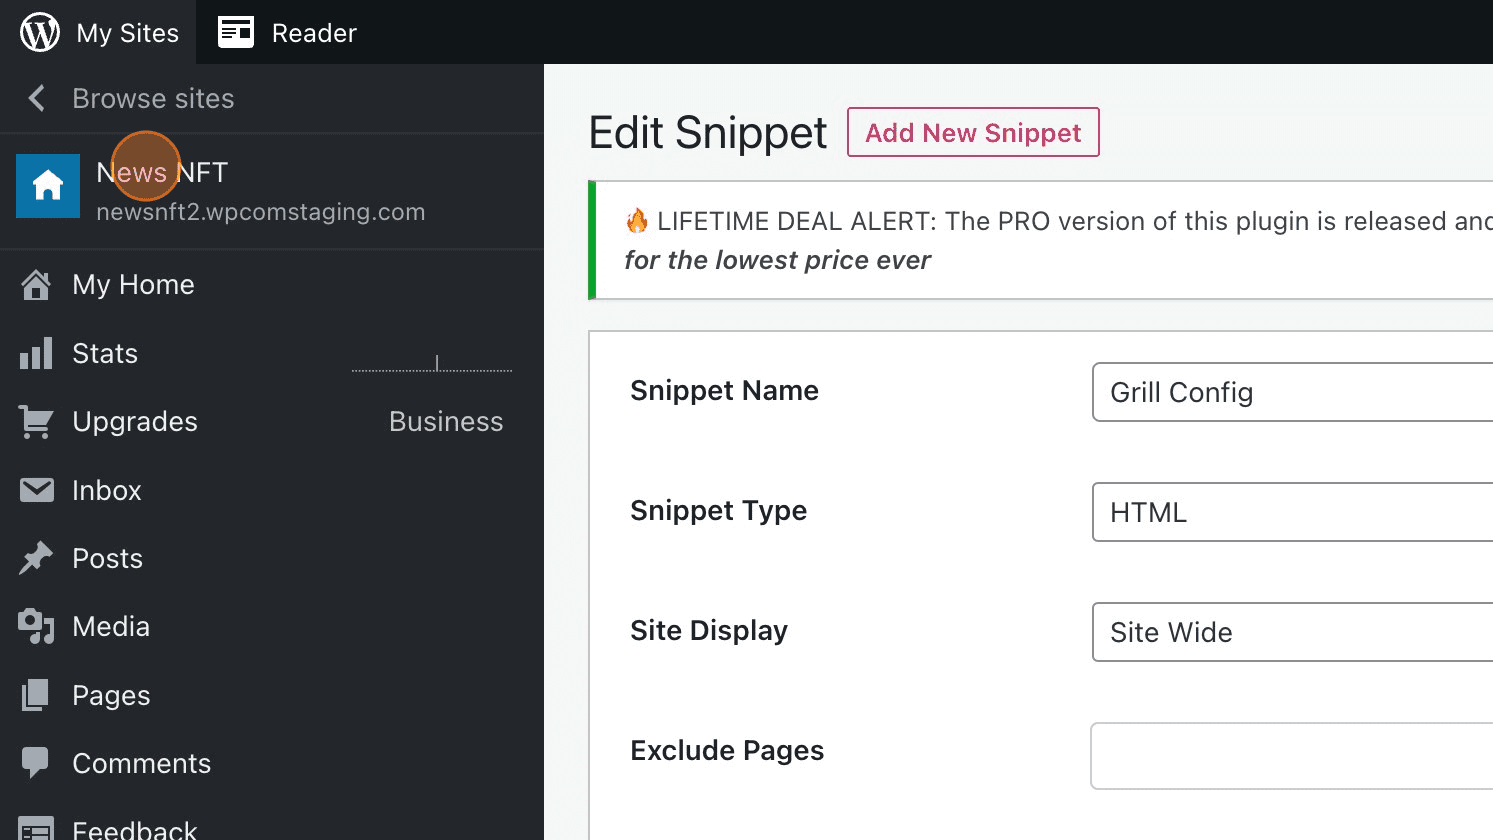
Step 1: Create A New Site
Create a new site at https://wordpress.com by clicking the "Add New Site" button:
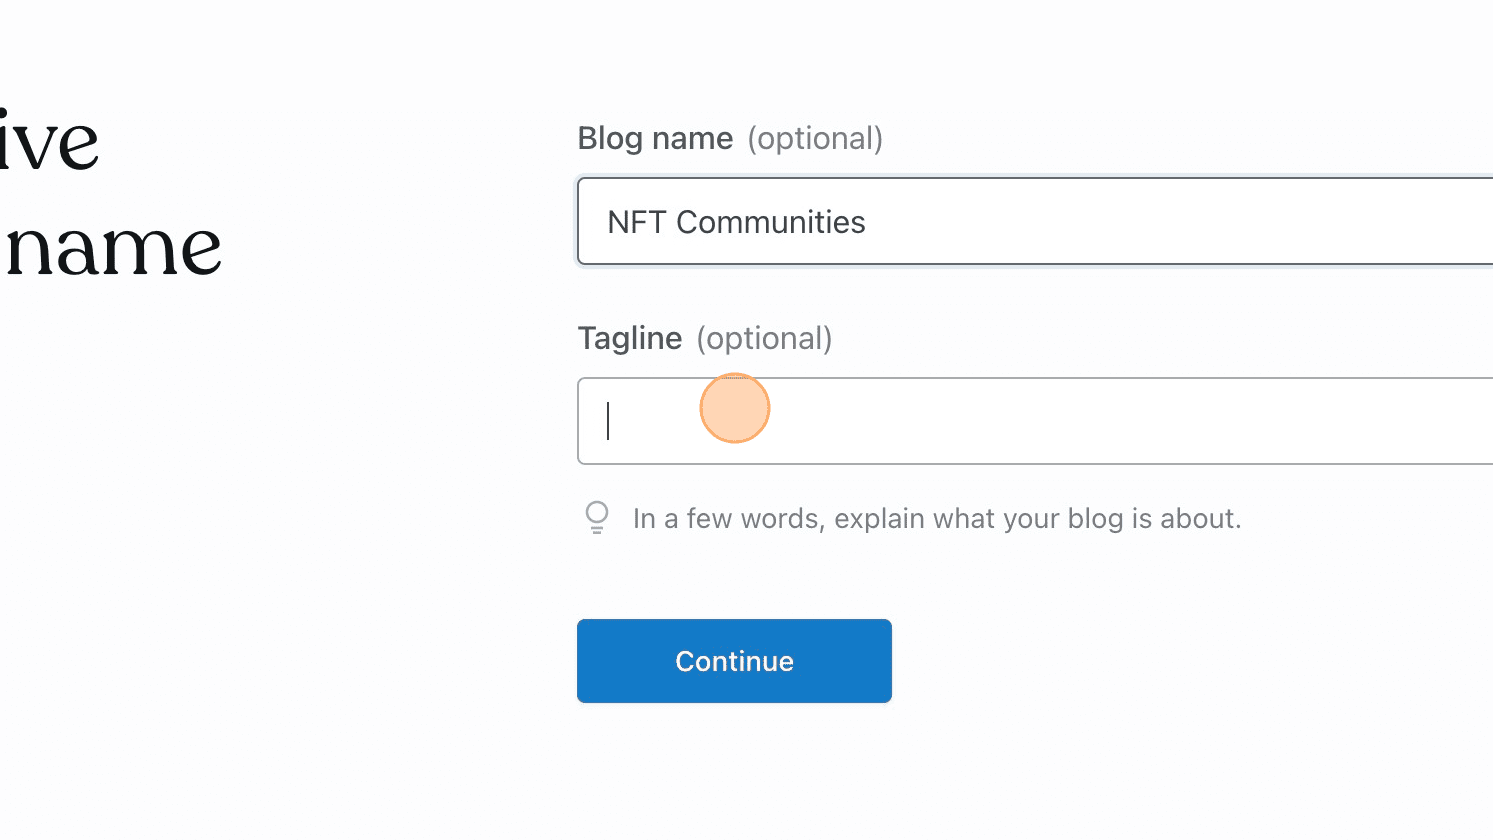
Step 2: Setup Up The Site
Add the following details for your website:
Step 3: Skip To The Dashboard
Head towards the site dashboard:

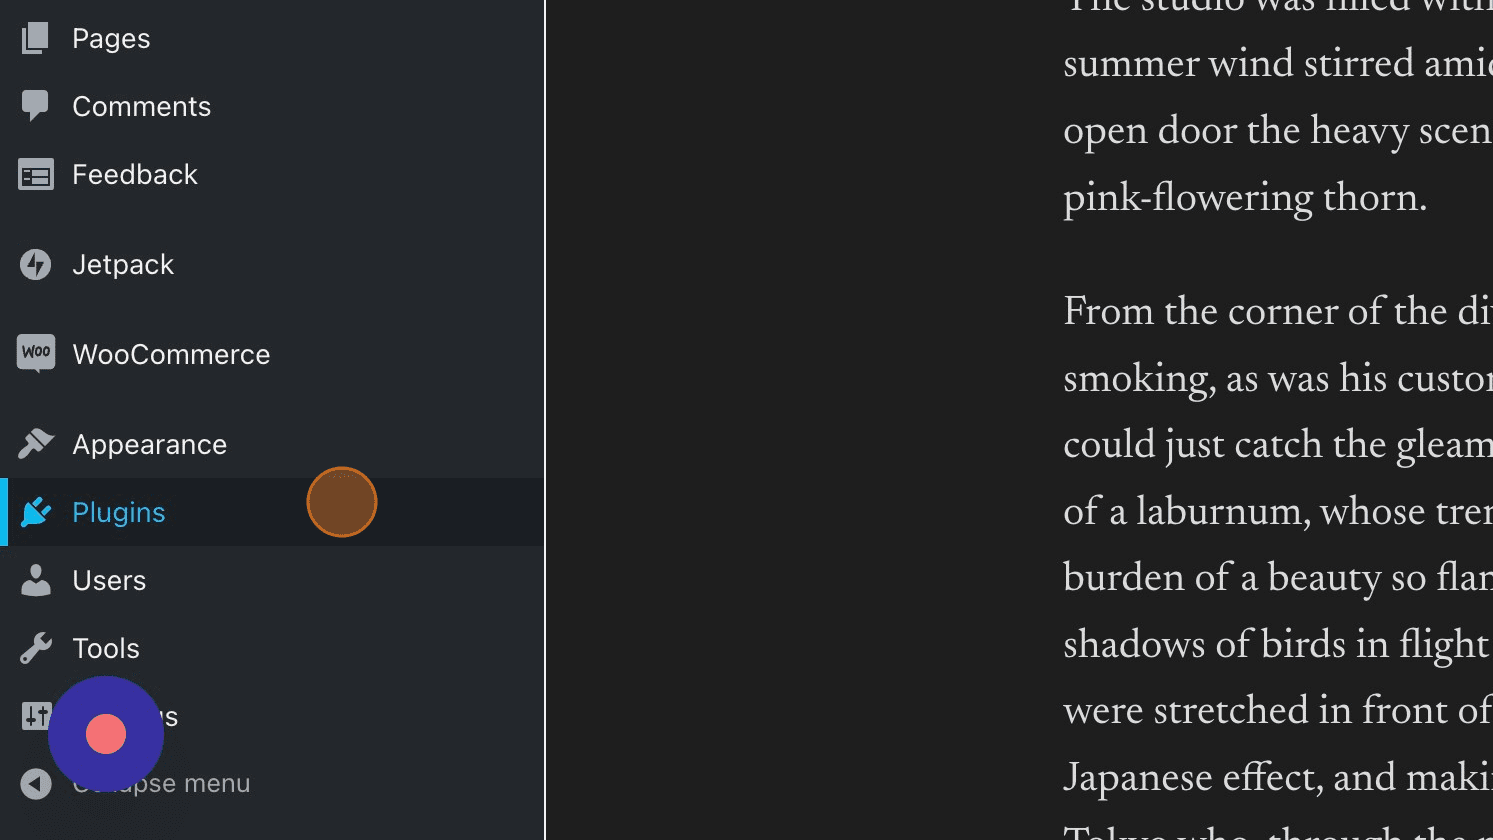
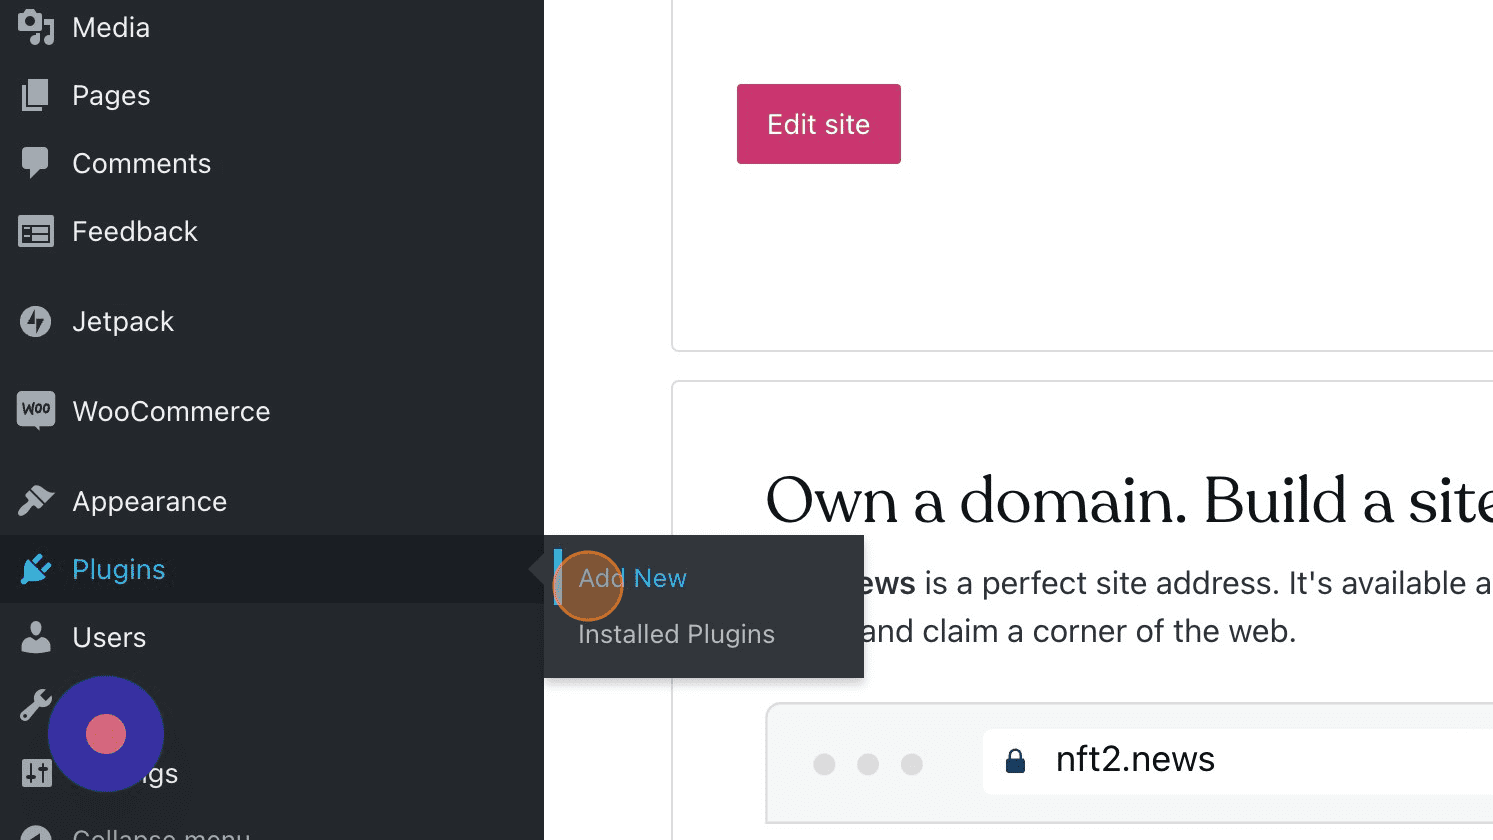
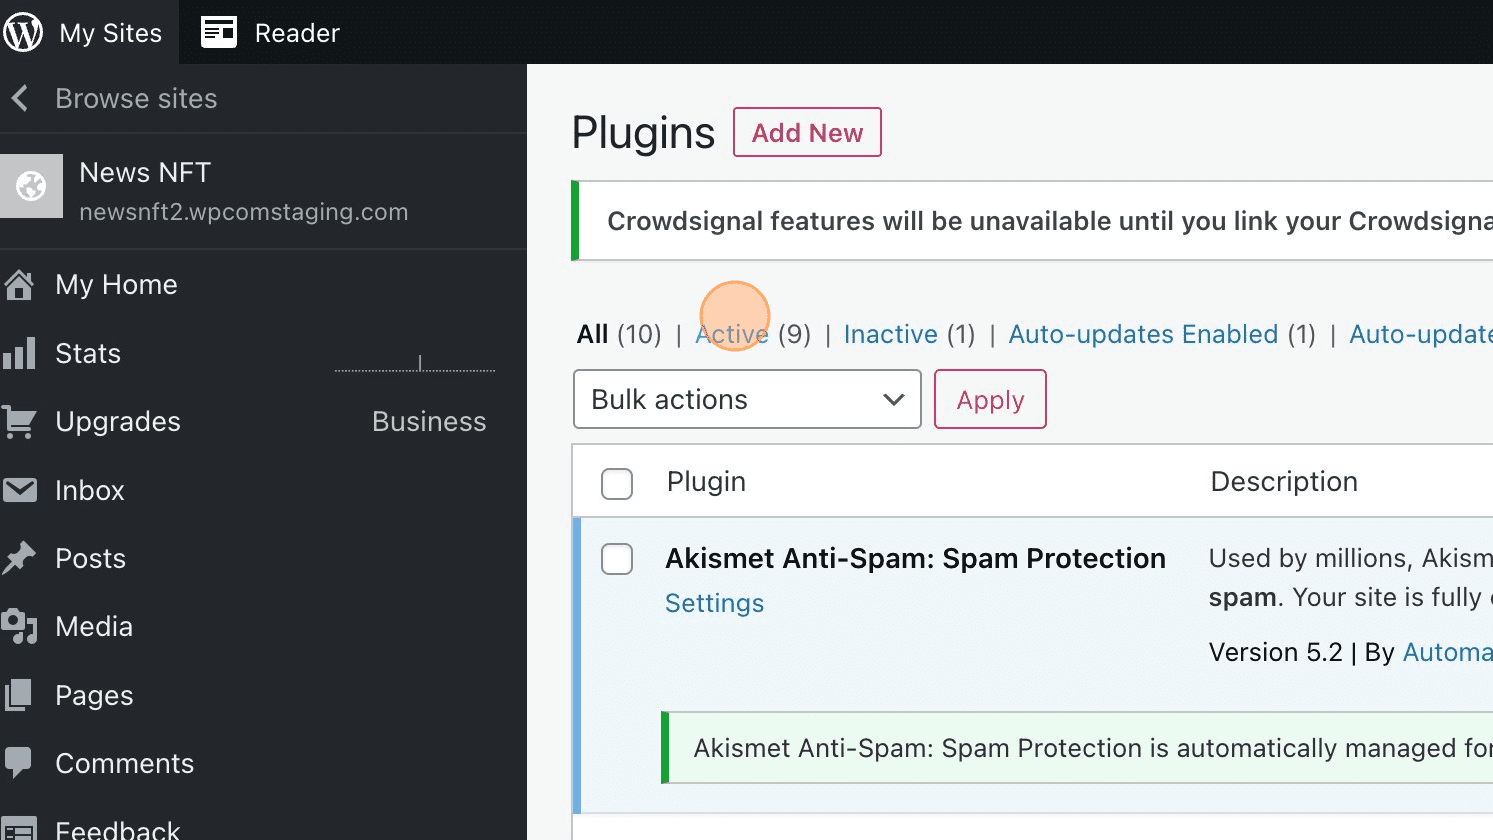
Step 4: Choose Plugins From The Sidebar
Choose the plugins section from the sidebar and hit the "Add New" button:
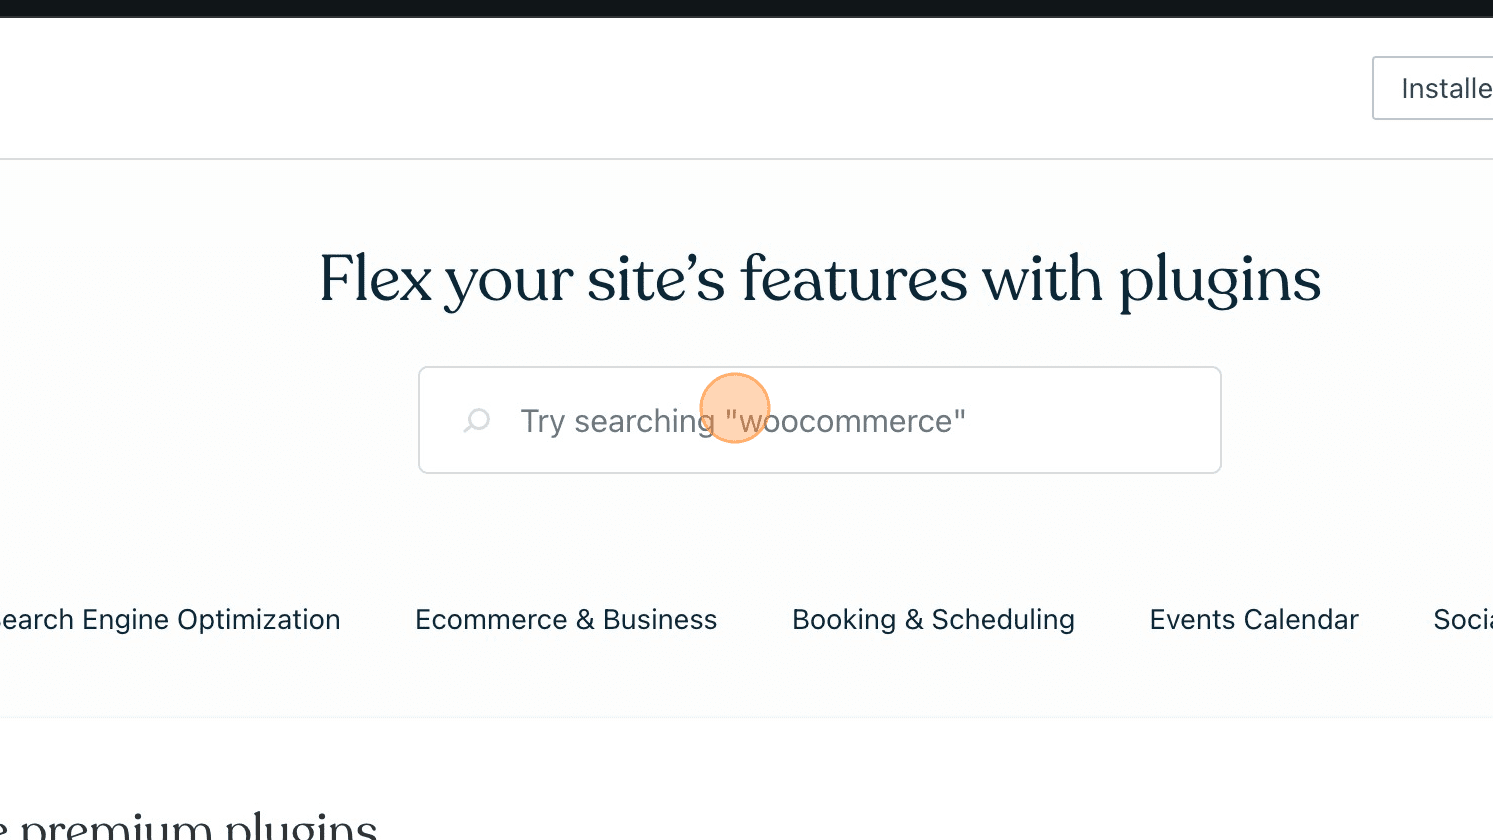
Step 5: Search
Search for "Headers and Footers" in the plugin section:
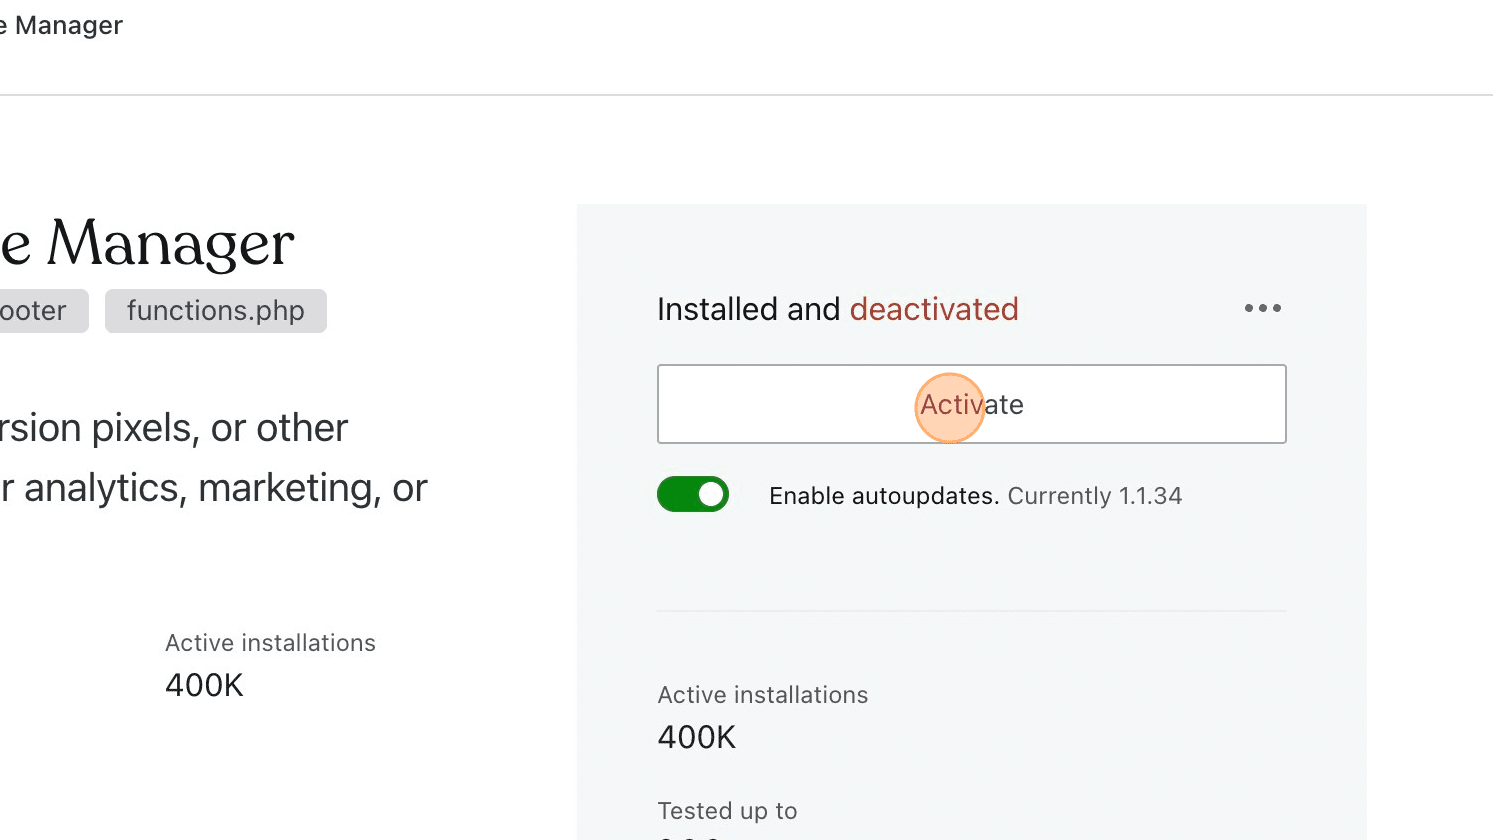
Step 6: Install The following Plugin
Install & activate the plugin for adding our scripts:

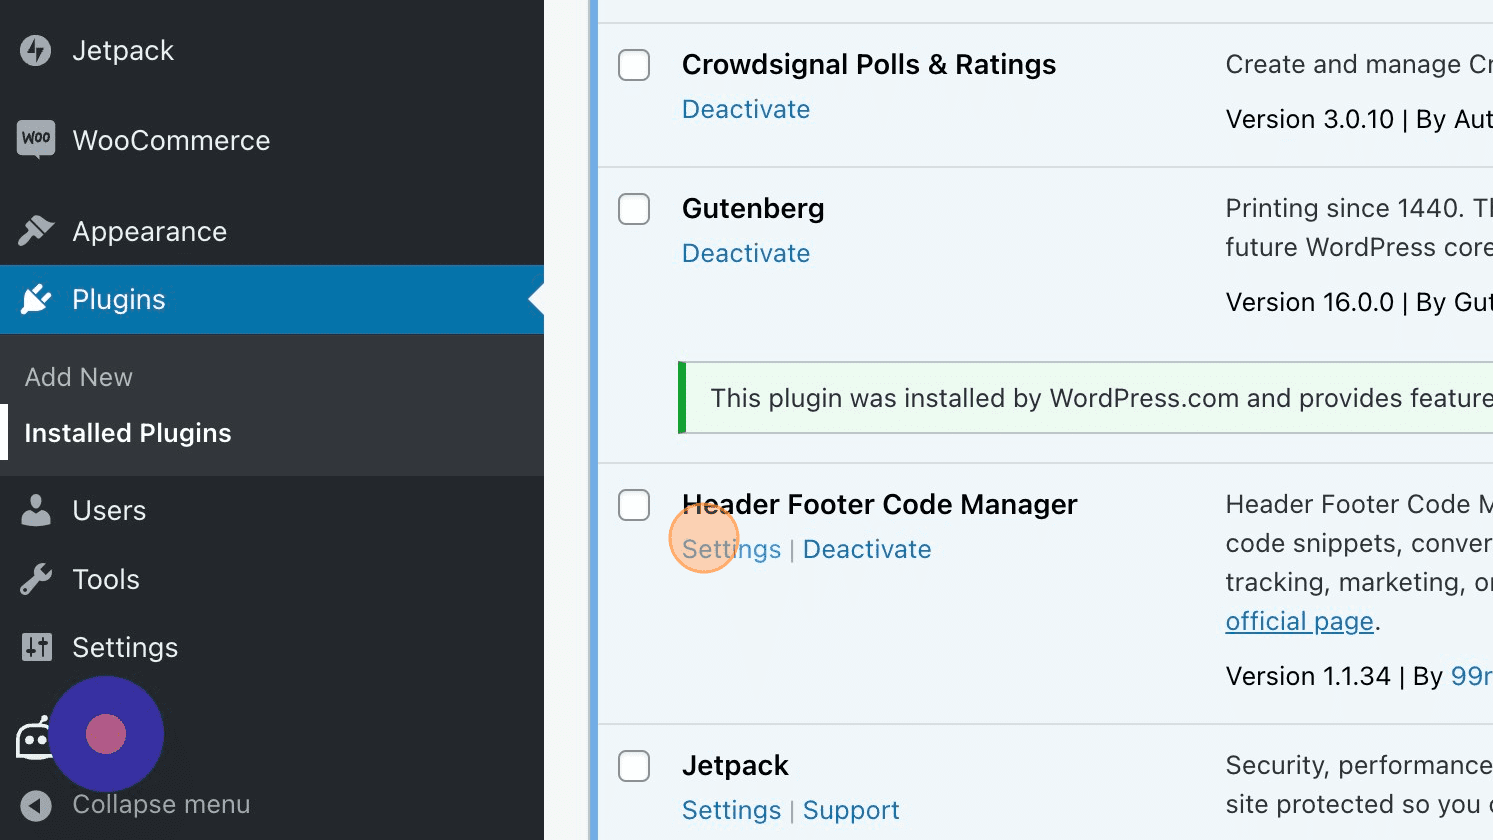
Step 7: Setup The Headers and Footer Code Plugin
Head towards the installed plugins section, and find it in active section.

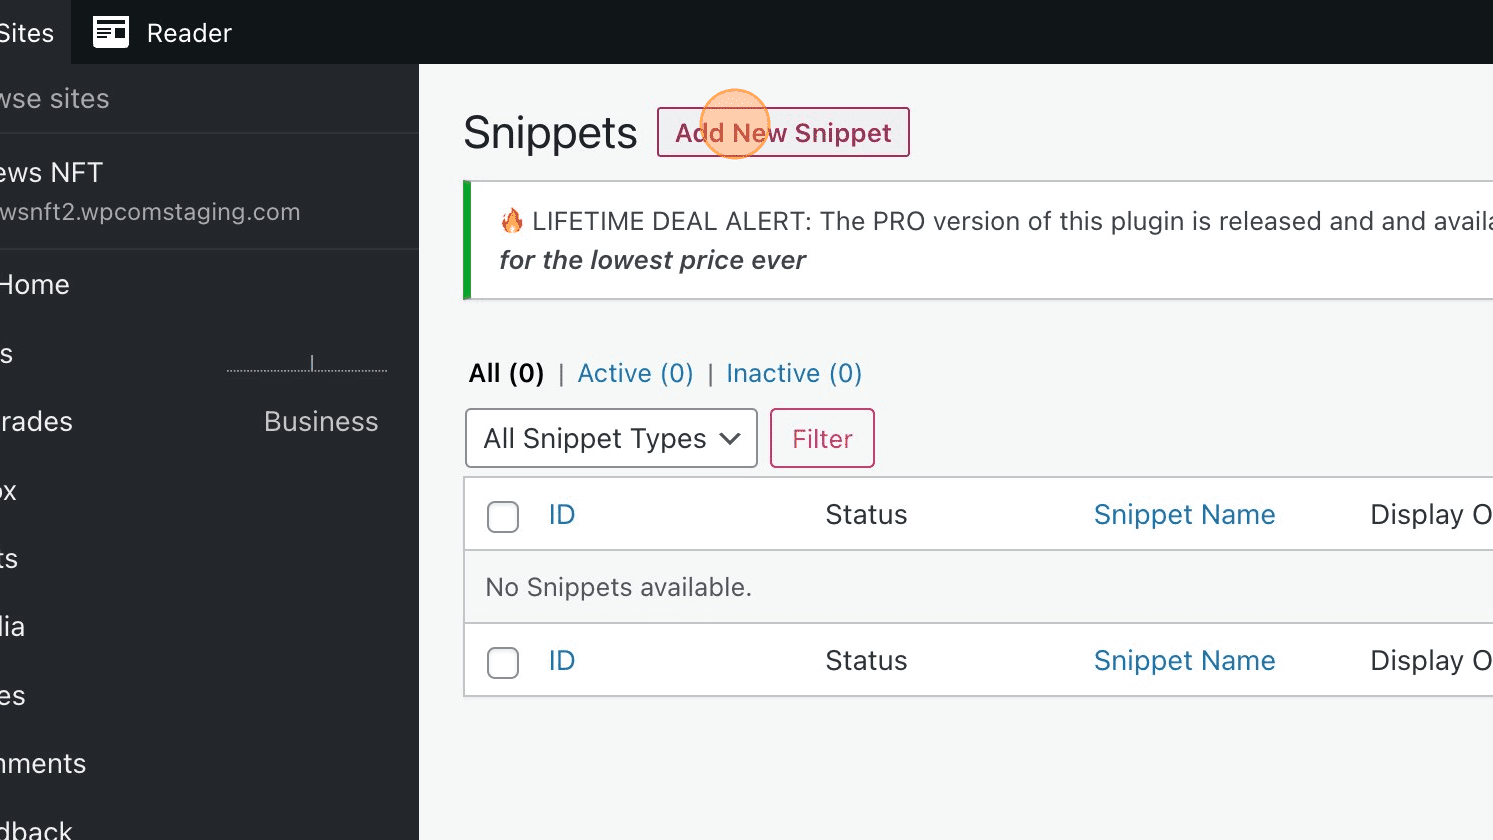
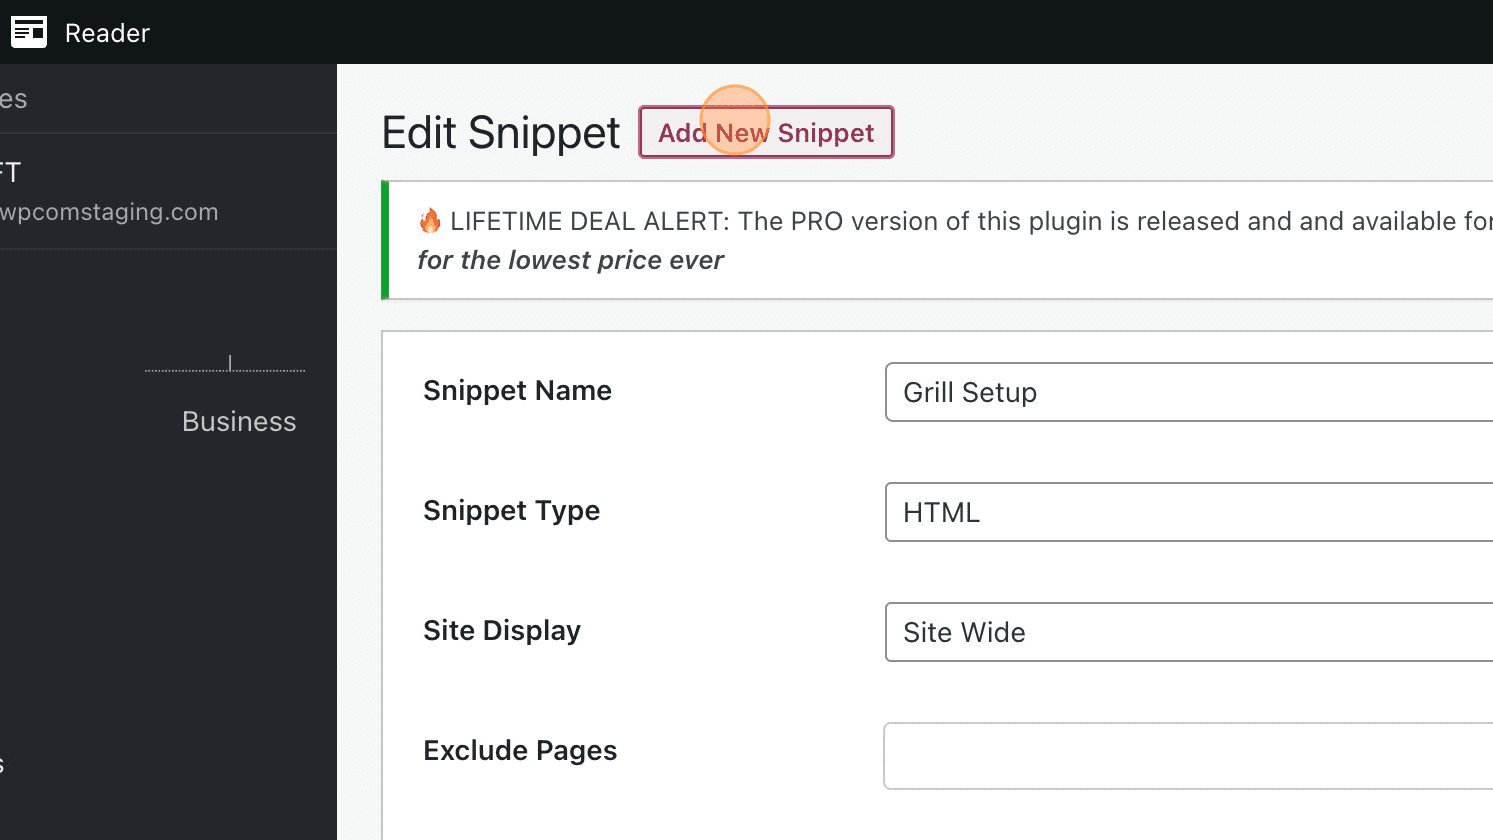
Step 8: Add The Grill Setup Script
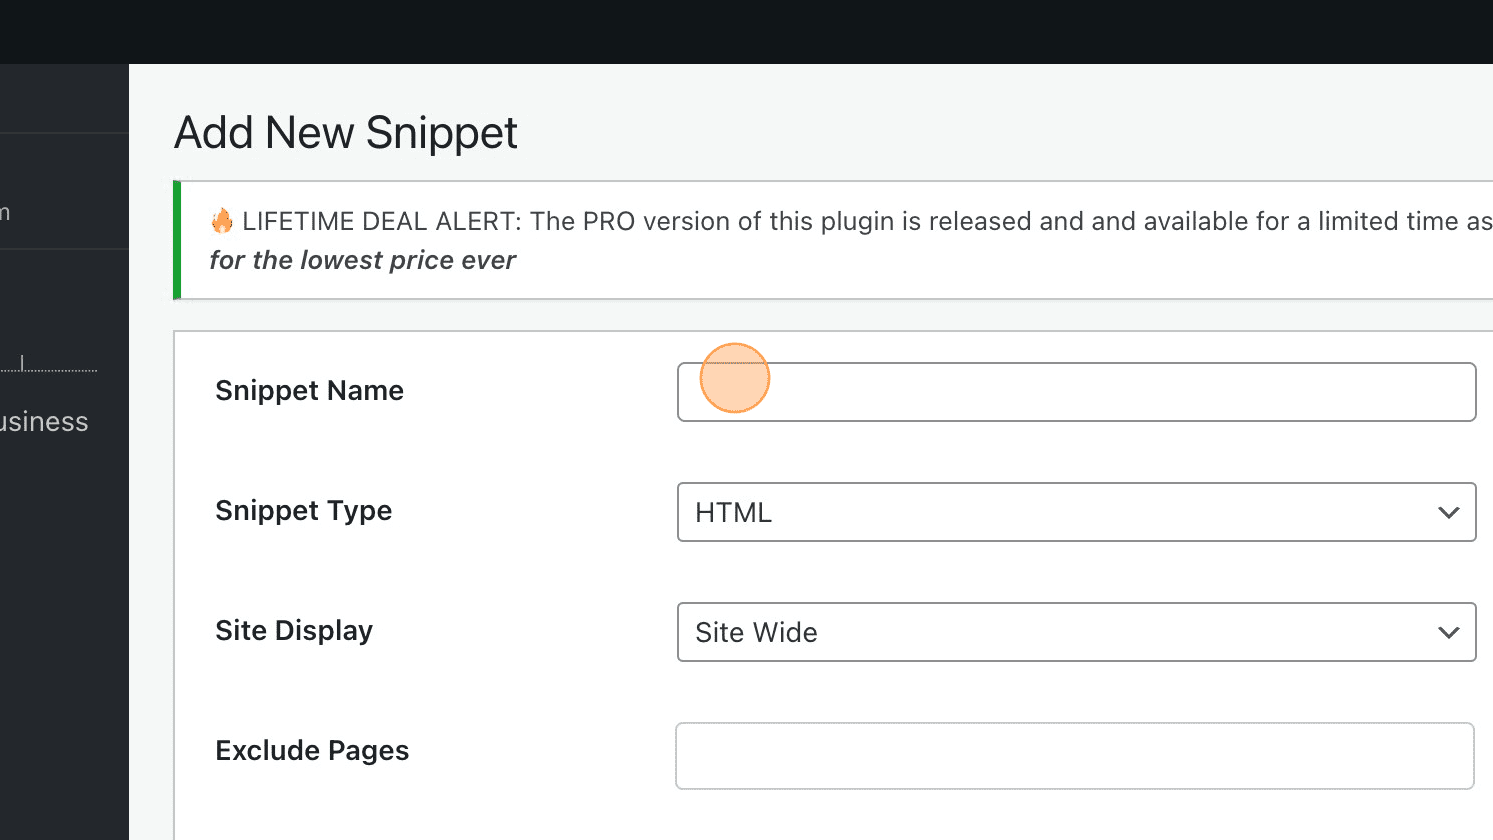
Install the Grill Setup script in the plugin, and follow the steps:
Update the Script Name to Grill Setup:
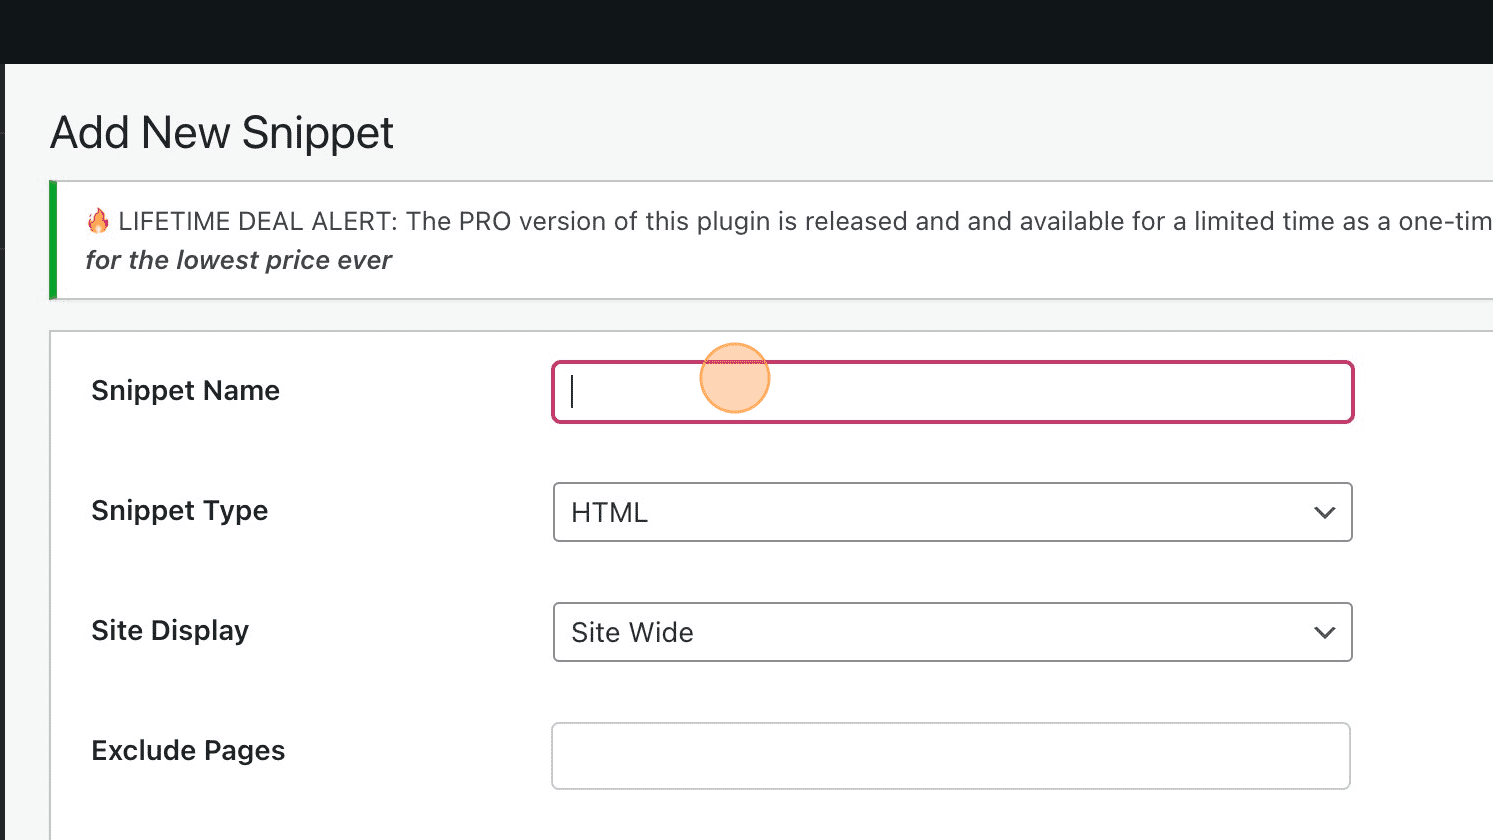
Paste the following code, in the Source Code section:
  <script src="https://unpkg.com/@subsocial/grill-widget"></script>
  <div class="fixed-div">
    <div id="grill" class="chat"></div>
    <img id="grill-toggle" alt="grill-logo" src="https://sub.id/images/grillchat.svg" />
  </div>
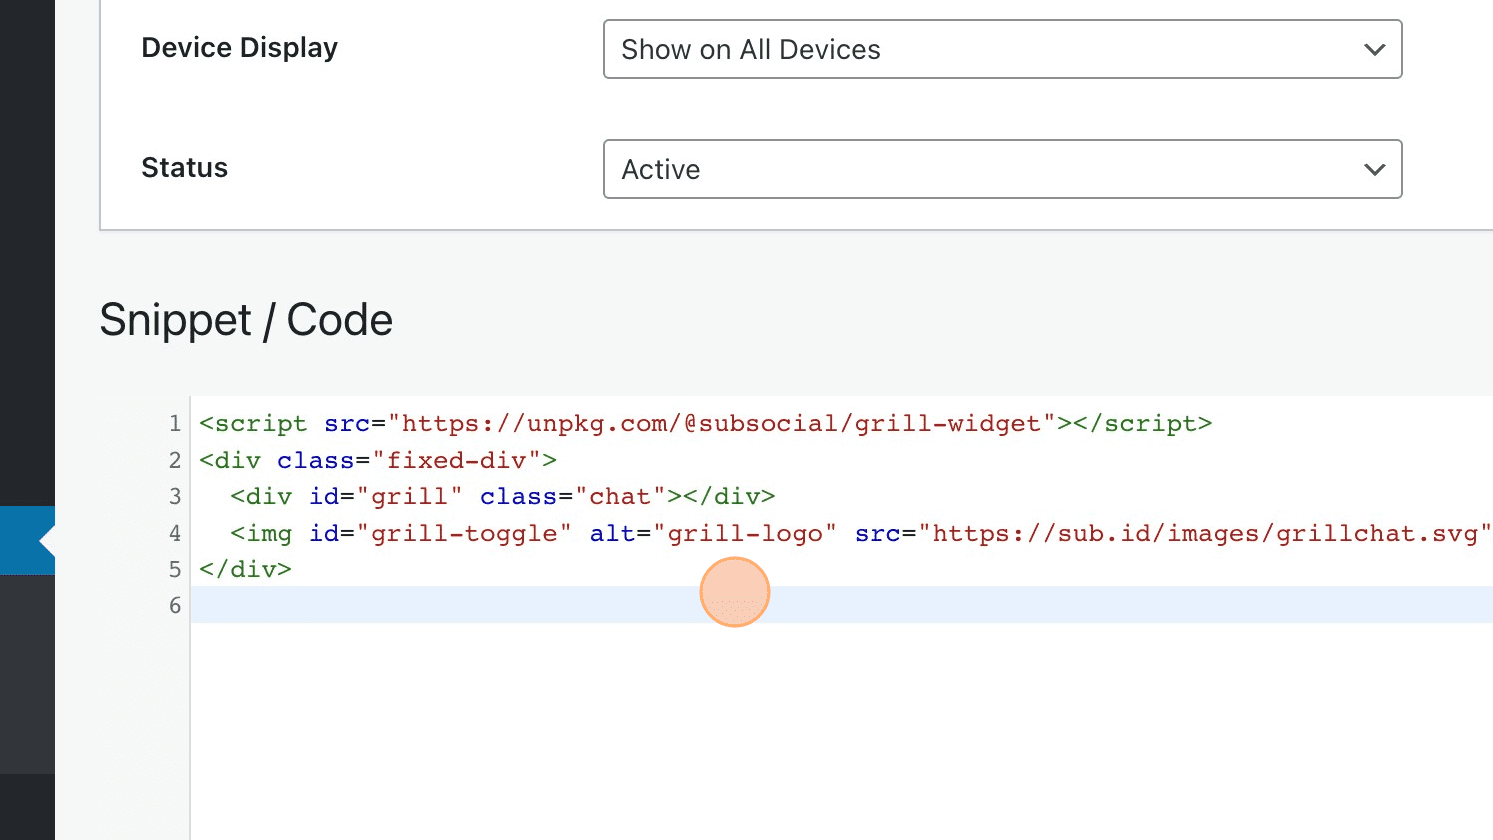
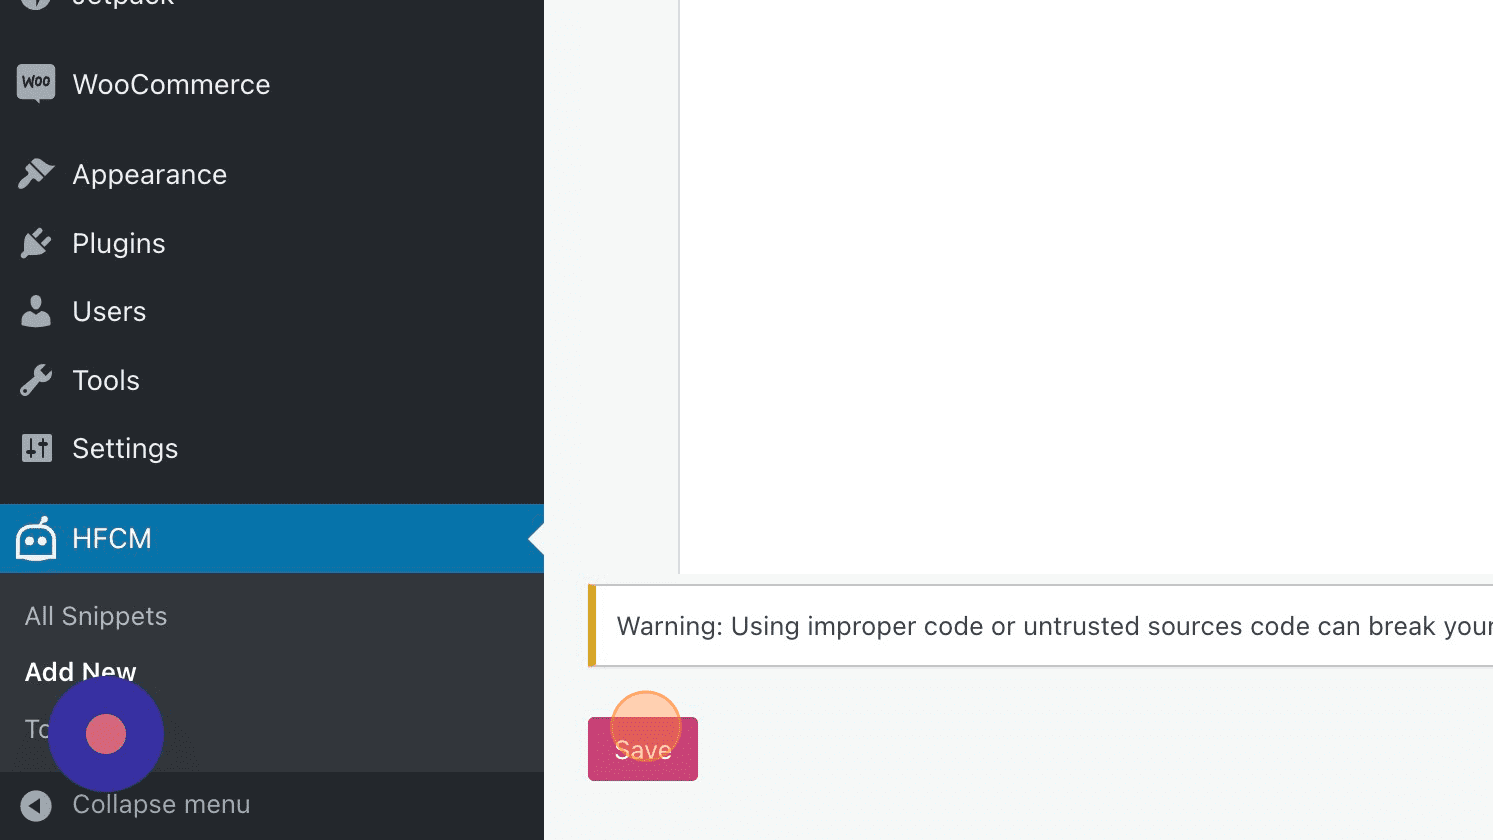
And hit the Save button:
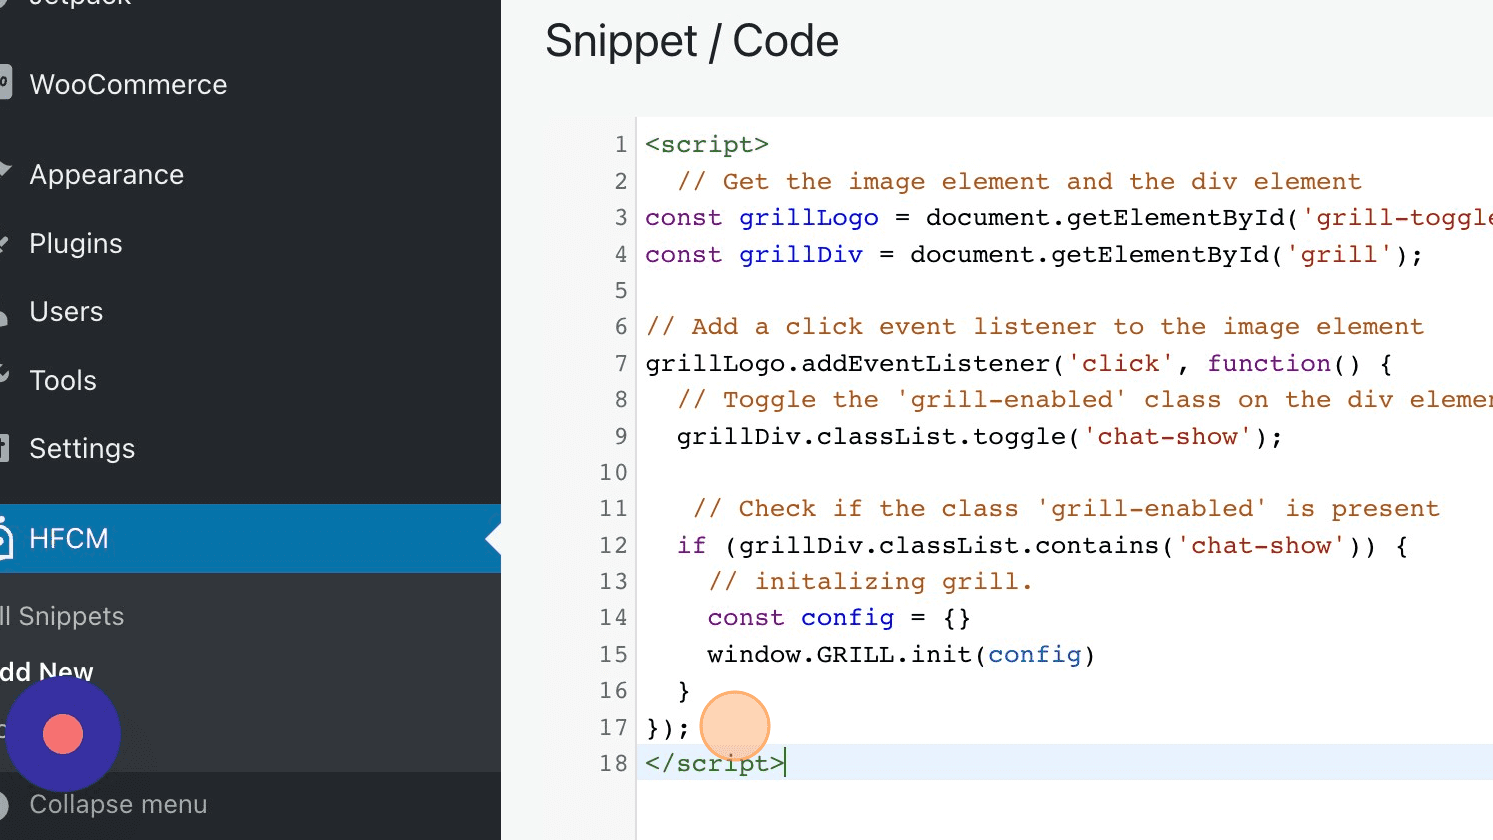
Step 9: Add The Grill Config Script
Install the Grill Config script in the plugin, and follow the steps:
Update the Script Name to Grill Config:
Paste the following code, in the Source Code section:
  <script>
    // Get the image element and the div element
    const grillLogo = document.getElementById('grill-toggle');
    const grillDiv = document.getElementById('grill');

    // Add a click event listener to the image element
    grillLogo.addEventListener('click', function() {
      // Toggle the 'grill-enabled' class on the div element
      grillDiv.classList.toggle('chat-show');

      // Check if the class 'grill-enabled' is present
      if (grillDiv.classList.contains('chat-show')) {
        // initalizing grill.
        const config = {}
        window.GRILL.init(config)
      }
    });
  </script>
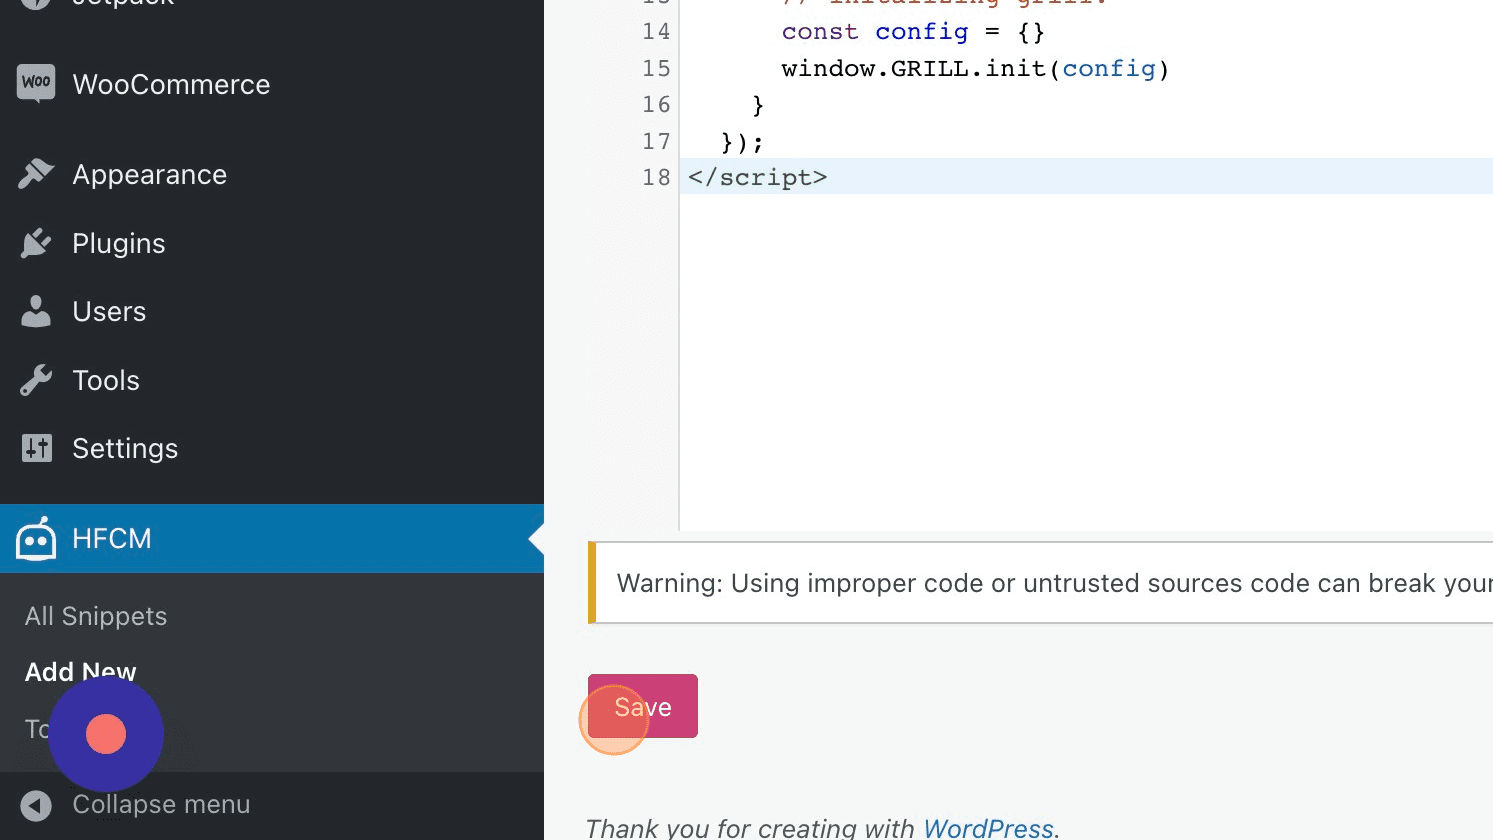
And hit the Save button:
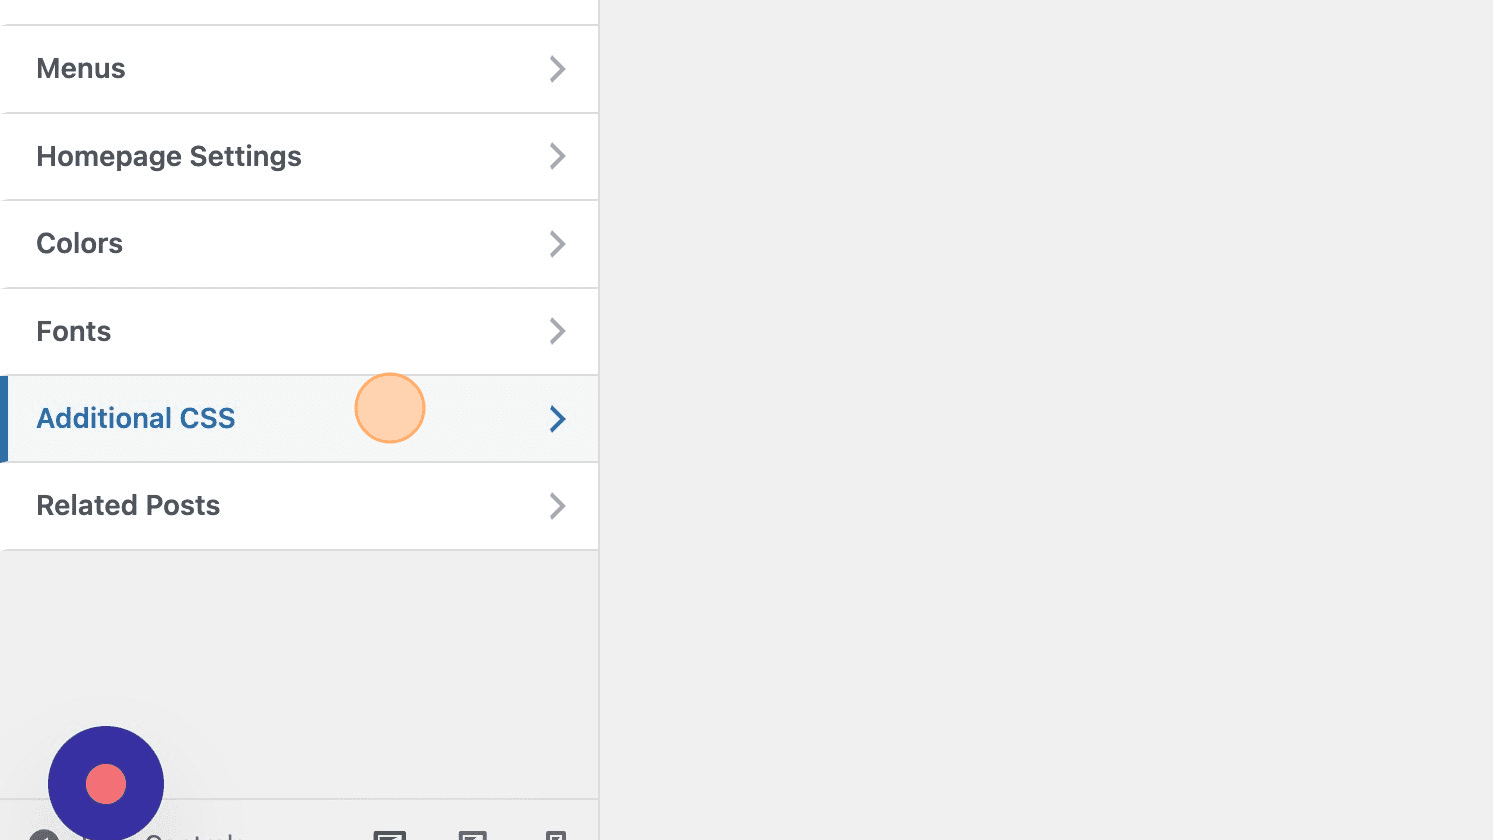
Step 10: Adding CSS for Styling
Now, as the last step we need to add the CSS code to style the button and position it correctly:

Choose the Addtional CSS button:
Paste the following CSS code:
  .fixed-div {
    position: fixed;
    bottom: 20px;
    right: 20px;
    z-index: 1000;
    text-align: right;
  }

  .fixed-div img {
    width: 60px;
    height: 60px;
    margin-top: 4px;
    border-radius: 50%;
    color: #fff;
    font-size: 24px;
    cursor: pointer;
    background-color: #fff;
    padding: 1px;
  }

  .fixed-div img:hover {
    padding: 0;
  }

  .chat {
    height: min(570px,90vh - 100px);
    width: min(400px,100vw - 60px);
    overflow: hidden;
    border-radius: .625em;
    -webkit-box-shadow: 0 12px 50px -12px rgba(0,0,0,.5);
    box-shadow: 0 12px 50px -12px rgba(0,0,0,.5);
    -webkit-transition-property: opacity,height,width;
    transition-property: opacity,height,width;
    -webkit-transition-duration: .3s,0s,0s;
    transition-duration: .3s,0s,0s;
    -webkit-transition-delay: 0s,0s,0s;
    transition-delay: 0s,0s,0s;
    opacity: 1;
    display: none;
  }

  .chat iframe {
    border-radius: .625em;
  }

  .chat-show{
    display: block;
  }
Hit the Save Changes button:

Step 11: Integration Complete, Try it Live!
We have finished the setup successfully.
You can try out the website here: https://newsnft2.wpcomstaging.com/